How to prepare your Camp Oven

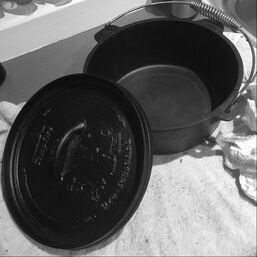
The following steps show one way to season your new cast iron camp oven. Seasoning prepares the inside of the camp oven for cooking and helps in keeping the outside looking good.
This is something you should do before you first use your camp oven and also every now and then throughout it's life.
ONE Remove any stickers and give it a thorough wash with a scourer, warm water and detergent. Note that this is the one and only time you should use detergent in the camp oven.
TWO Dry thoroughly - you can even dry out in the oven to ensure it is completely dry.
THREE Once the camp oven is completely dry, rub it inside and out with cooking oil and paper towel.
FOUR Repeat the above step another 2 times over the next day or so to ensure that the oil penetrates into the metal (as cast iron can be very porous). Note that spray oil does not work anywhere near as well as rubbing the oil in.
FIVE After you have coated the camp oven (oven and lid) as detailed above, put the camp oven and lid in an oven or BBQ and bake upside down for at least 1 hour at 250 degrees celsius. Might be an idea to put a tray underneath to catch any oil drips. Be warned, this step will create a lot of white smoke as the oil is cooked, so be prepared for smoke alarms to go off! Using an outdoor hooded BBQ is a good alternative.
SIX The outcome you are looking for is a black glaze that covers the camp oven, this is what will provide you with the non-stick cooking surface you will need for your bush adventures. This coating also protects the oven from rusting. If you don’t get a uniform black glaze coating, you may need to repeat the oiling and cooking treatment again.